Server to Server Conversion Tracking for Outbrain
There are many reasons to set up the Server to Server conversion tracking tracking for Outbrain. Maybe you want to track and optimize towards in-app events, trigger conversions based on CRM data, or just want more accurate numbers to work with.
Here’s what you need to get started.
Many of us have been there, looking into the Outbrain Amplify interface and making optimizations based on the current performance of today. Only to find next day’s report from your analytics tool or BI team showing a completely different picture. Now much of your morning is lost to correcting decisions based on inaccurate data.
The Outbrain Pixel is a powerful tool which should be implemented and used if you are driving traffic to your website. It has however some flaws. For it to count a conversion, the Pixel needs to be loaded in the visitor’s browser and it needs to read the Outbrain cookie stored in the browser. This is what’s referred to it being loaded client-side.
If anything fails in this process, and there are several things that can (for instance ad blockers, browser privacy settings, or just the page just doesn’t finish loading). The conversion is not counted and will not be visible in the interface, and smart bidding optimization will not take it into consideration.
Also if you’d like to see and optimize towards in-app events or post-lead events (like sales or subscriptions) then the Pixel won’t be able to assist you at all.
Regardless, it still makes sense using the pixel, especially when it comes to building audiences for retargeting and exclusions. If the pixel is not already on your website, here’s a guide of how to install the Outbrain Pixel using Google Tag Manager.
The solution to the aforementioned issues, is the Outbrain Server to Server Tracking, also referred to as S2S Tracking. More of this actually is and how it work in the following section. If you’d just like to jump directly to the Outbrain postback url or how to pass the needed click-id you can do so from the section list below.
- What is Server to Server Tracking
- Set up S2S for Outbrain
- Outbrain Click-id Macro
- Postback URL for Server to Server tracking
- Conversion events in Amplify
- Next steps - Outbrain s2s tracking
What is Server to Server Tracking?
Similarly to pixel conversion tracking, it is used to tell a 3rd party (in this case Outbrain) that a specific conversion event has taken place. The important difference is whether this call to the 3rd party is made client-side, by the browser of the visitor, or server-side, by the server of the website/app.
Remember that pixels are loading client-side and that this is what causes discrepencies in tracking. For Server to Server this is moved to instead happen server-side, meaning between the server of your website and Outbrain’s server. It is therefore not being affected by the visitor or his/her browser and plugins.
Technically what happens is that at the point of a conversion event, information is being passed to your CRM system and back-end database. Additionally then a call is made to a 3rd party server, telling it that the specific conversion event has taken place. It is using a specific url, called the postback-url and includes the name of the conversion event and a unique identifier. This allows the 3rd party to understand the following:
- A conversion event has taken place
- Which conversion event it was - from the conversion event
name - Who made the conversion and for which advertiser it was - from the
unique identifier
Master Advertising On Outbrain
Register for the ultimate native advertising course and get exclusive insights into building successful Outbrain campaigns.
How to set S2S Conversion Tracking for Outbrain
Depending on whether you’re setting up Server to Server Tracking for events happening in-app or your website/CRM process looks a bit different. The steps below are specifically for website/CRM events but some of the steps are similar also for app events.
1. Include the click-id in a URL-parameter
We mentioned previously that a specific unique identifier needs to be passed back to Outbrain, for them to understand who user made the conversion. This is what’s referred to as the Outbrain click-id.
The click-id gets assigned when you’re serving your ad to a user and is unique for that impression. Therefore allowing Outbrain to map it to a specific impression and the related advertiser, campaign, ad and site the user came through and when the ad was shown.
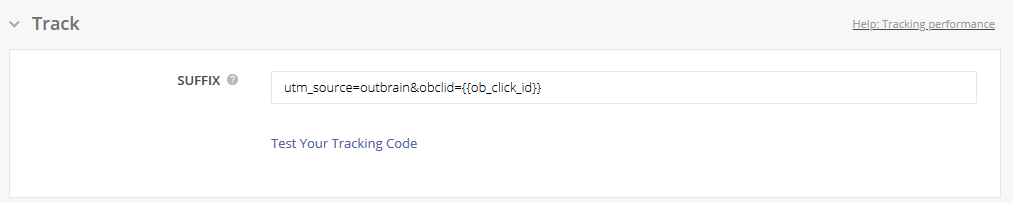
To collect the Outbrain click-id make sure to include the following URL parameter in the SUFFIX settings of all your Outbrain campaigns
obclid={{ob_click_id}}
Like this:
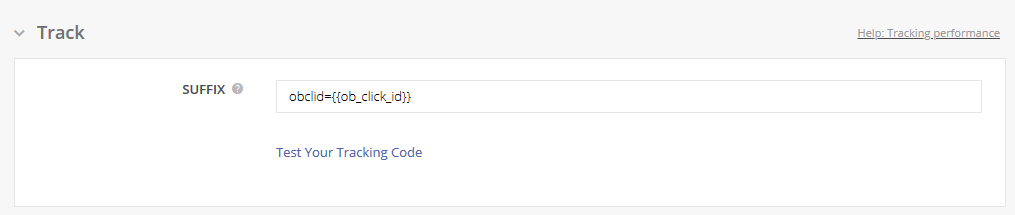
obclid can be changed to anything else, e.g. click_id, but it’s important that the {{ob_click_id}} is not changed. This dynamic URL parameter tells Outbrain to where to insert the actual click-id. By applying it in the campaign you make sure that all the ads in the campaign will have it as well.
It is not a problem using it with other URL and UTM parameters, just connect them with a & like you would usually. See example below:
2. Store the click-id and create the Postback URL call
Now traffic coming to your page from Outbrain campaigns will have the click-id in the URL. Here’s where you’ll need some technical assistance.
You need to include and store your new obclid parameter among the other URL parameters that were previously tracked. So that the click-id gets attached the conversion in your back-end systems and CRM platform.
Next you need to set up the URL call to trigger when the conversion event happens. For this the following Postback URL needs to be used:
https://tr.outbrain.com/pixel?ob_click_id=CLICK_ID&name=EVENT_NAME
Here the CLICK_ID needs to be replaced with the click-id passed with the conversion, and EVENT_NAME with what you are calling this specific conversion event. It’s crucial that the conversion event matches what we’ll use in the next step or it will not track correctly.
You probably need some technical help here as well as this needs to be installed to run from the server.
3. Create conversion events in outbrain
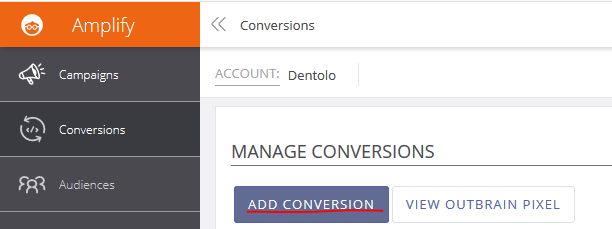
So the last step is to create the conversion event (events if you are implementing several) inside Outbrain Amplify. No techies needed for this.
Go to the conversions tab in the interface and click the button for ADD CONVERSION
Select Event-Based Conversion under Type.
In Details make sure that the Name is exactly matching what is being passed through the Postback URL. Fill out the remaining fields based on what’s appropriate for this specific conversion and finally click Save.
Is it working? What are the next steps?
Now you should be through with the entire set up and you should soon be able to start seeing your S2S conversions performance in the Amplify interface. To control that it’s working, go back to the conversions tab. Under Tracking Status it should now say Active on your Server to Server conversion events.
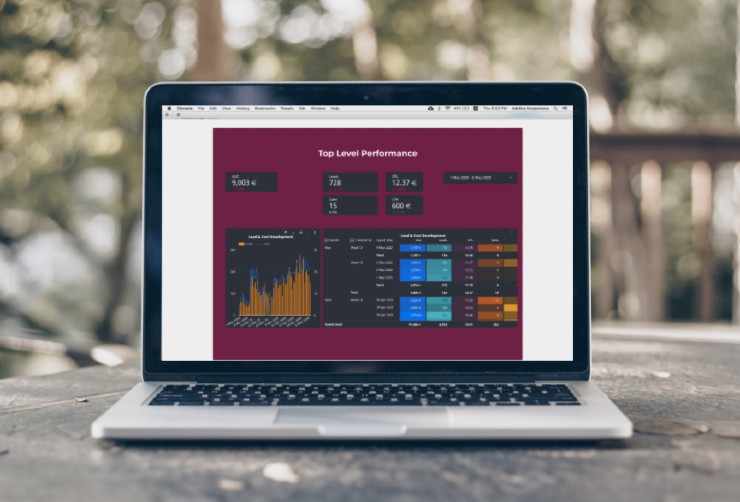
With more accurate tracking in your hands, you can now take same day decisions with more confidence. With that in mind, start exploring what other funnel steps and post lead events that you could track. We at Joinative like to create conversion events for all relevant different steps a user is facing in order to build proper funnel reports and analyze where users are dropping off. This will allow for better targeted A/B test and more insights into your messages testing.
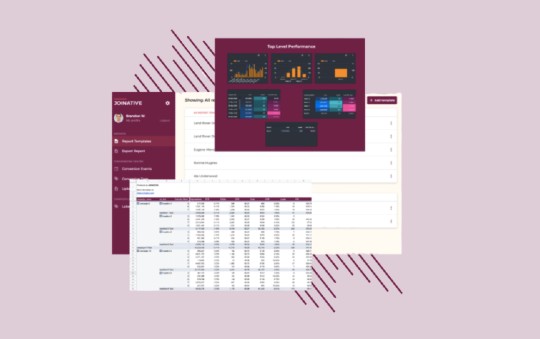
We’ve published a collection of report templates including the Funnel reports we are using. For more information, sign up to our newsletter or follow us on Linkedin and Twitter.
If you are interested in getting more insights out of the data from Outbrain and other Native advertising platforms, check out our native advertising optimization tool or book a free demo today.